Building a blog with AWS Amplify Console
In the ‘old days’ the recipe for hosting your static web content on AWS required you to configure a combination of S3, Cloudfront, IAM, Route53, ACM, WAF … and even then you wouldn’t have CI/CD pipeline until you added bunch of Code* -tools on top of it. As result your content would be hosted in a way that could server almost unlimited customer base globally without any servers or services you would have to manage.
But complexity made it very tempting to host simple sites on GitHub Pages or other similar services. While there is nothing wrong with that, it will limit you what tools and features you can use.
AWS Amplify Console is that middle ground between these 2 options. It will take care of details of connecting all those services together but you still have freedom to customize both build details and expanding to additional AWS services when required.
I did almost miss the announcement as it was somehow profiled as mobile application development category. It fits there nicely but you can apply it any other (modern) web application project as well. Amplify does supports static-site generators like Jekyll, Hugo and Gatsby out-of-box but nothing prevents you using any other tool-chain as well.
My pet-project to test Applify Console was the blog you are reading, generated with Jekyll.
All I had to do was …
- Add amplify.yml into git repo with my blog content. As I only have static frontend, build spec is really simple. All I need to do is list my build commands and tell the directory where my site is to be found. You could add here e.g. installation of specific tools that are not present in Amplify’s standard build image.
version: 1.0 frontend: phases: build: commands: - bundle install - jekyll build artifacts: baseDirectory: _site files: - '**/*' cache: paths: [] -
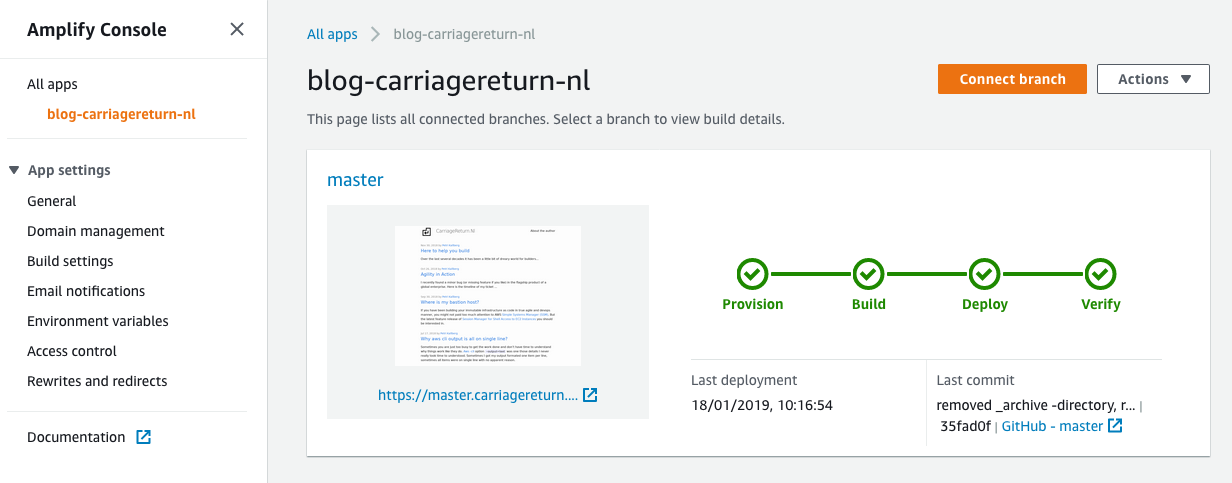
Connect a branch from GitHub with Amplify Console (or connect app as Amplify puts it)
-
Watch it build & deploy with some-random-string.amplifyapp.com -address. As a bonus Amplify will render screenshots for various mobile devices with every build.
-
Get my own domain (from Route 53 registrar)
-
Add Custom domain for my application.
- Done!

Now I have fully working CI/CD pipeline that will rebuild and deploy my site from any commit I make to git repo. I can add with couple clicks extras like additional branches for multiple versions of my site, add authentication to protect branches with work-in-progress, configure rewrites and redirects …
Pretty easy, compared what this would have taken if I’d to build everything from raw AWS services.
P.S.
When you assign custom domain for your application, Amplify Console GUI will always want to take over the whole domain. I had carriagereturn.nl hosted on Route 53 and when I sliced a sub-domain blog.carriagereturn.nl, it wasn’t possible to assign it for app, but Amplify Console always register it as carriagereturn.nl.
Work-a-round is use AWS CLI to assign a sub-domain for app. Here is an example from AWS Forum showing how to do this. Remember to replace ROOT_DOMAIN, SUB_DOMAIN, APP_ID and BRANCH with your application specific values.
aws amplify --region us-east-1 create-domain-association \
 --app-id APP_ID --domain-name ROOT_DOMAIN \
 --sub-domain-settings "[{\"prefix\": \"SUB_DOMAIN\",\"branchName\": \"BRANCH\"}]"
